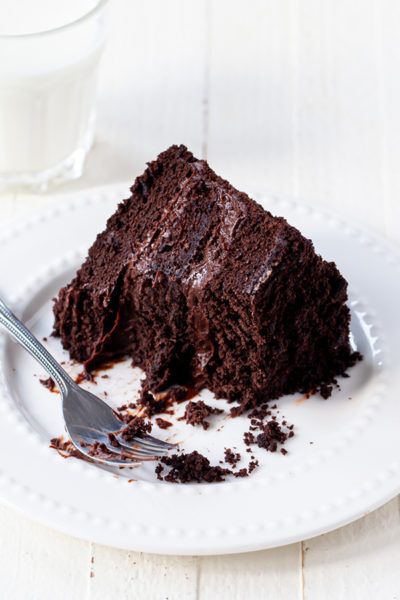
Brooklyn Blackout Cake
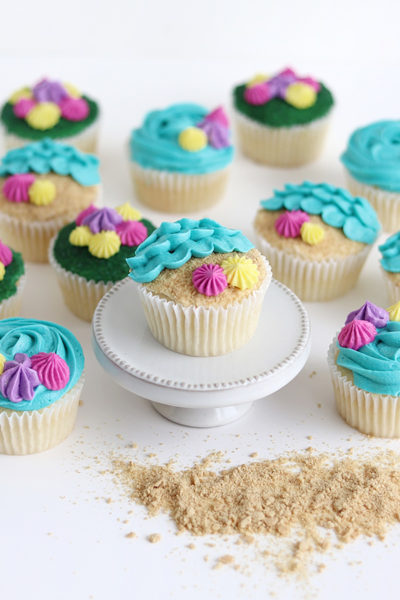
Beach Cupcakes
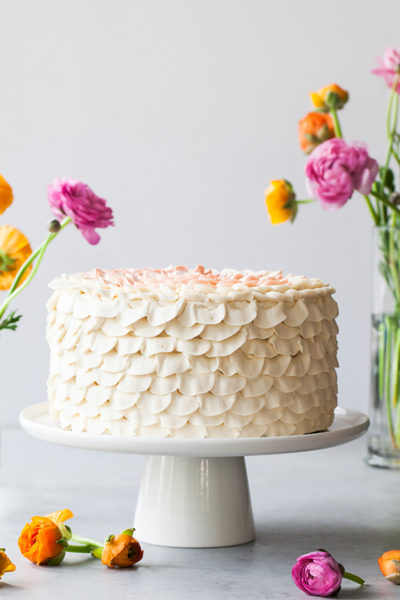
Orange Salted Honey Cake

Meringue Kisses
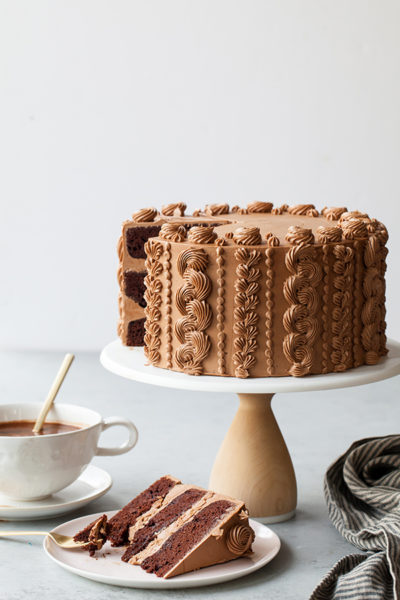
Chocolate Toffee Crunch Cake
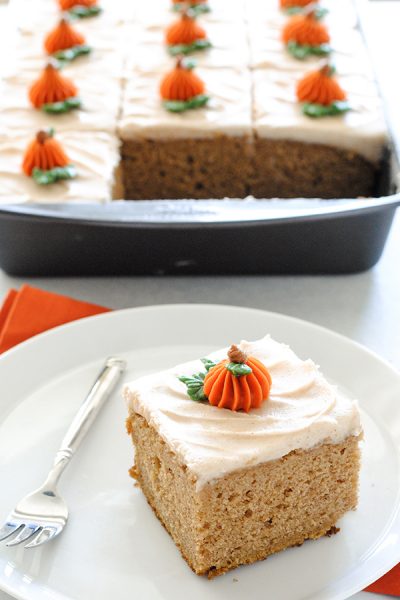
Pumpkin Sheet Cake
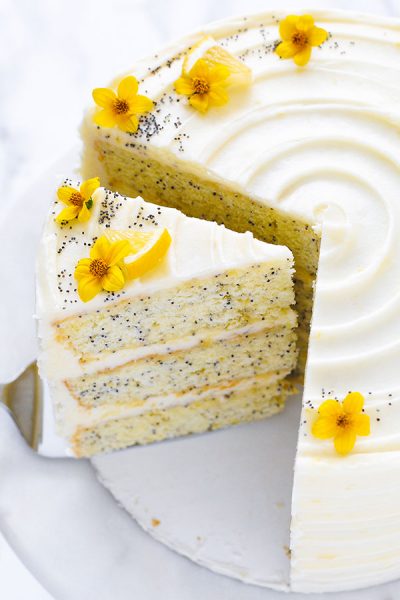
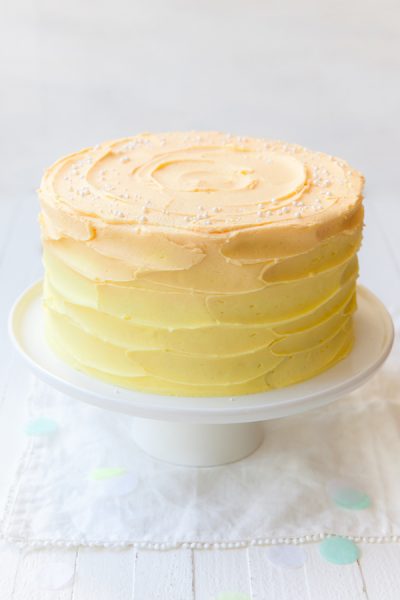
Lemon Poppyseed Cake
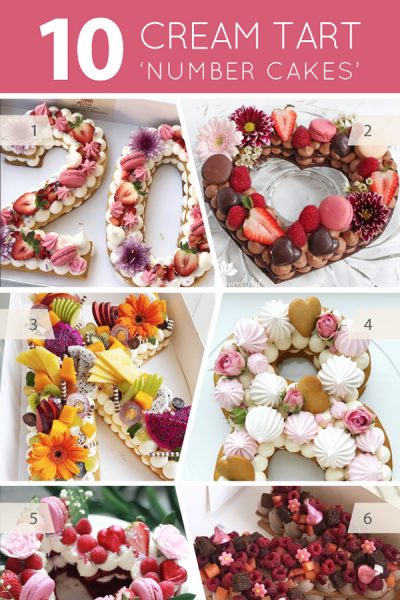
10 Cream Tart “Number Cakes”
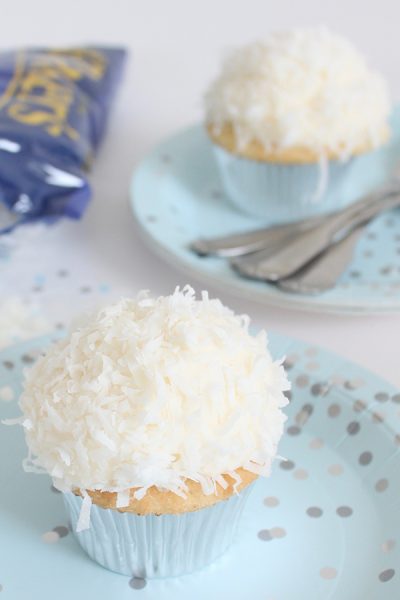
Coconut Cupcakes
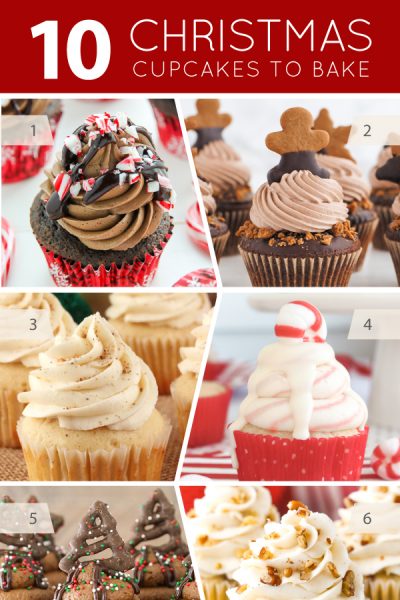
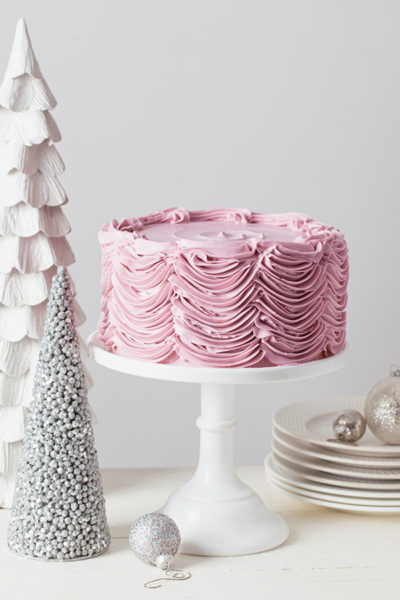
10 Christmas Cupcakes To Bake

Snickerdoodle Cupcakes
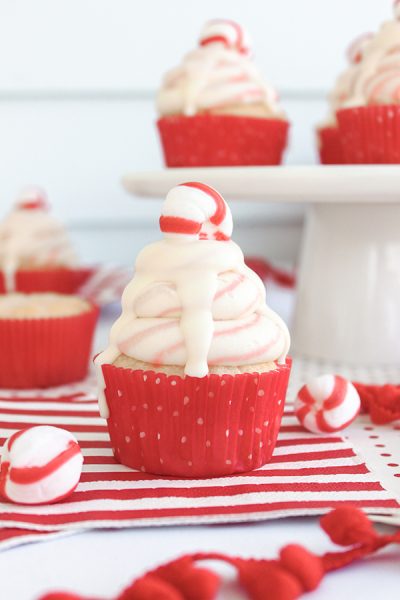
White Chocolate Peppermint Cupcakes
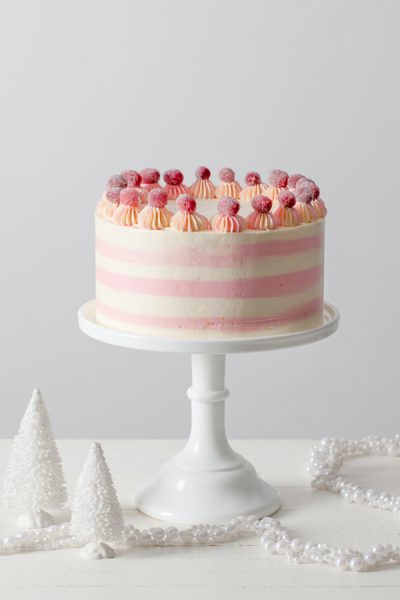
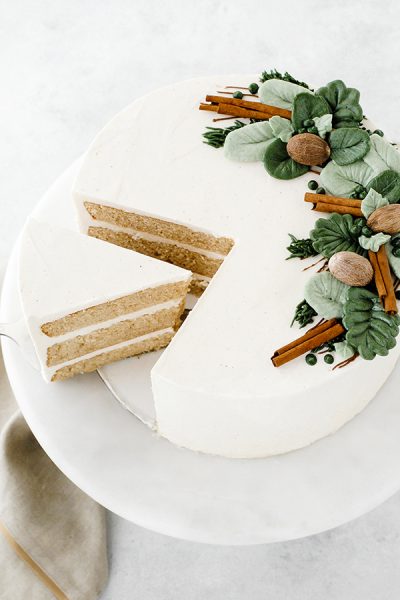
Cranberry Orange Spice Cake
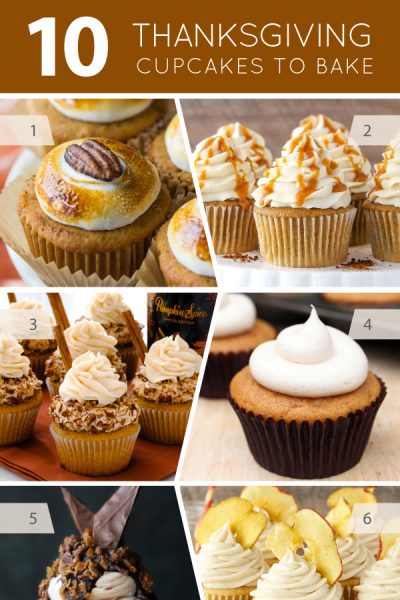
10 Thanksgiving Cupcakes
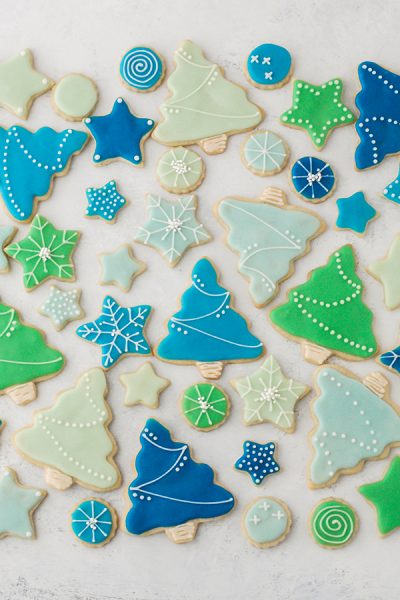
Decorated Sugar Cookies
Eggnog Cake
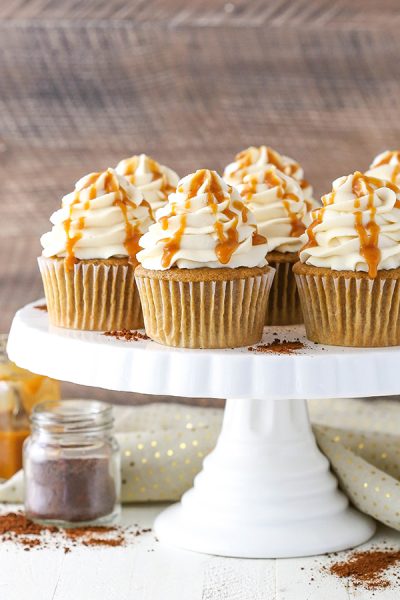
Caramel Mocha Cupcakes

10 Halloween Cupcakes to Bake
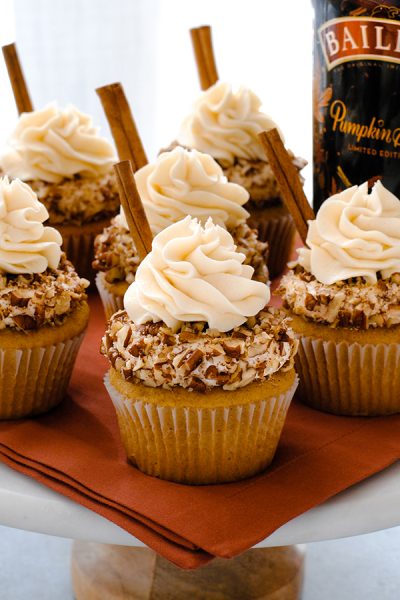
Baileys Pumpkin Spice Cupcakes
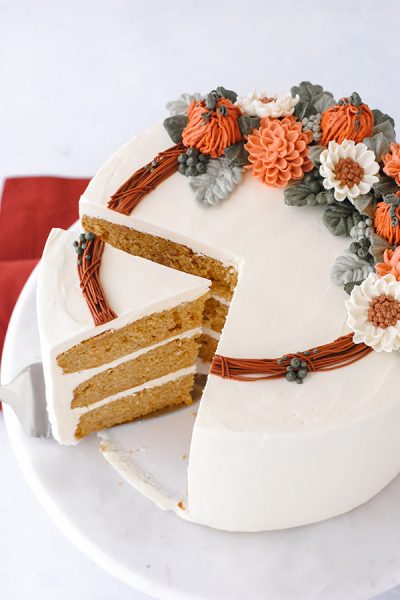
Pumpkin Spice Cake

Butter Pecan Cupcakes
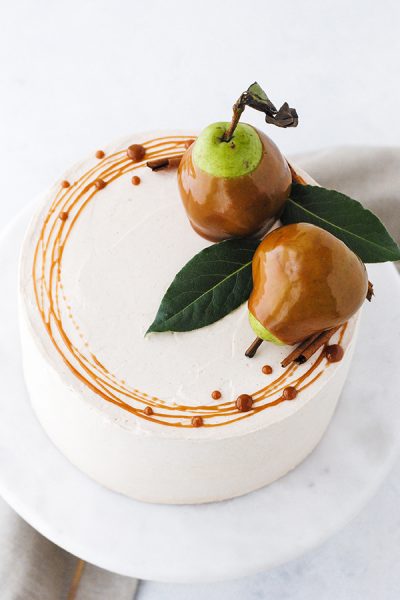
Salted Caramel Pear Cake
Hummingbird Cake
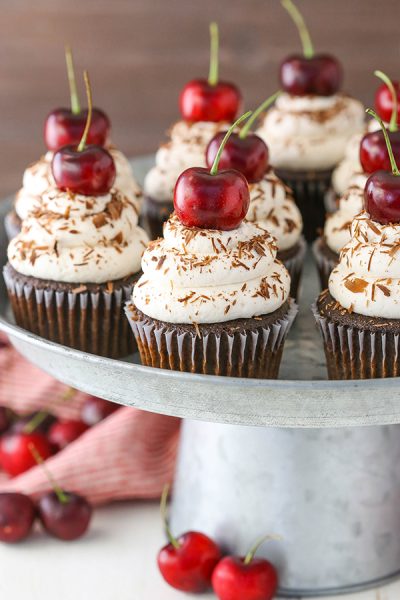
Black Forest Cupcakes
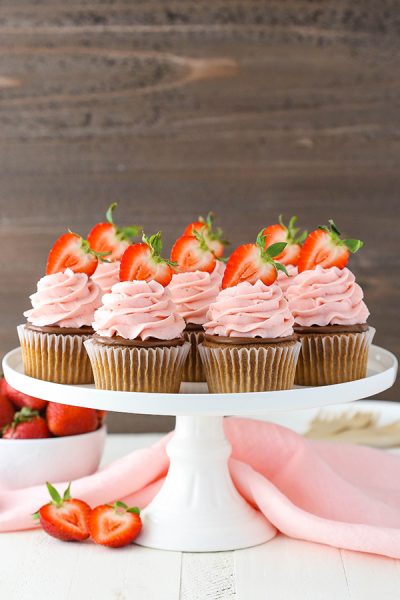
Strawberry Nutella Cupcakes
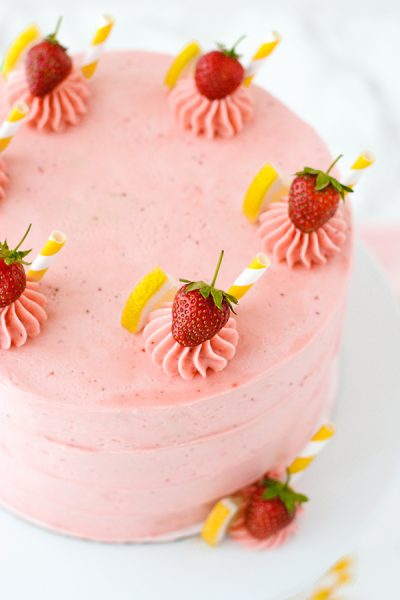
Strawberry Lemonade Cake
- 1
- 2
- 3
- …
- 8
- Next Page »
