
Penguin Cake
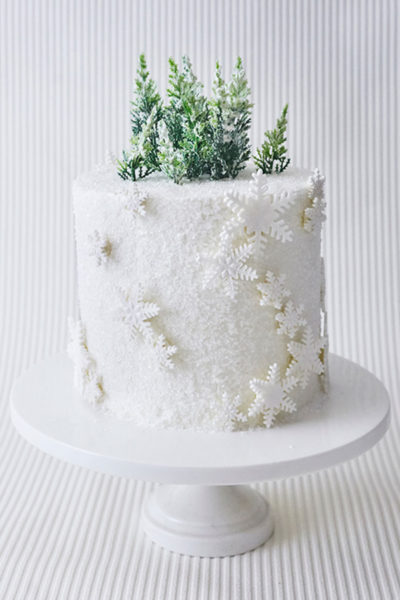
Winter Wonderland Snowflake Cake
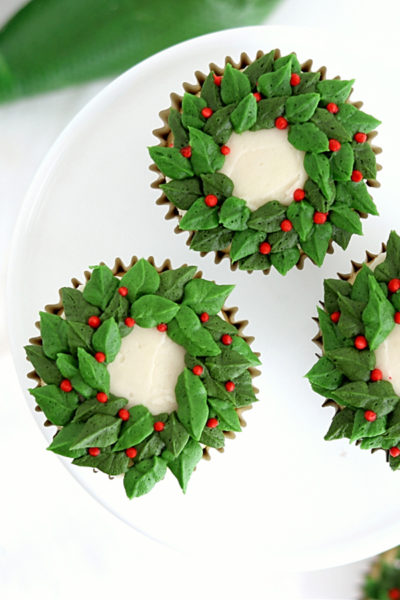
Christmas Wreath Cupcakes
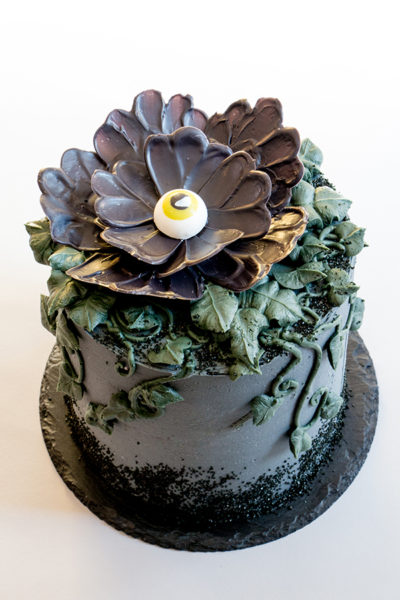
Chocolate Eyeball Flower
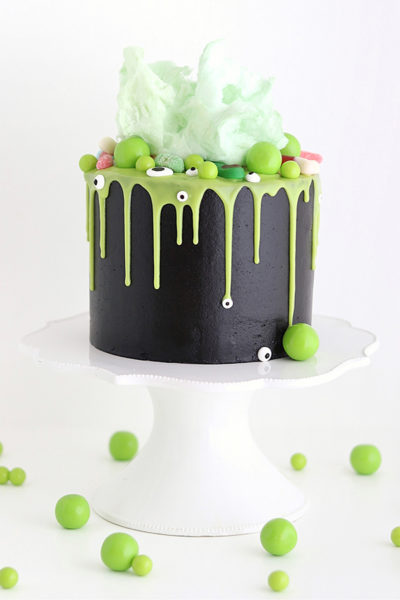
Witch Cauldron Cake
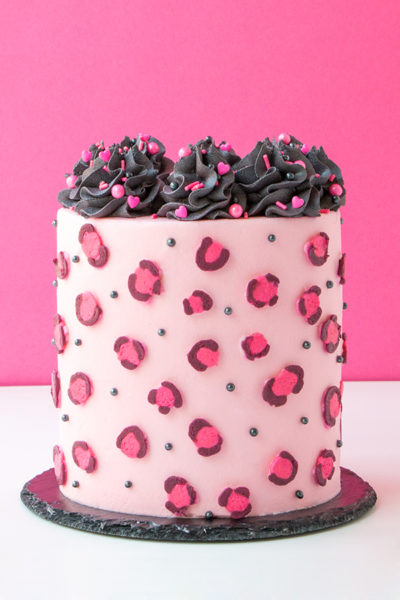
Leopard Print Buttercream Cake
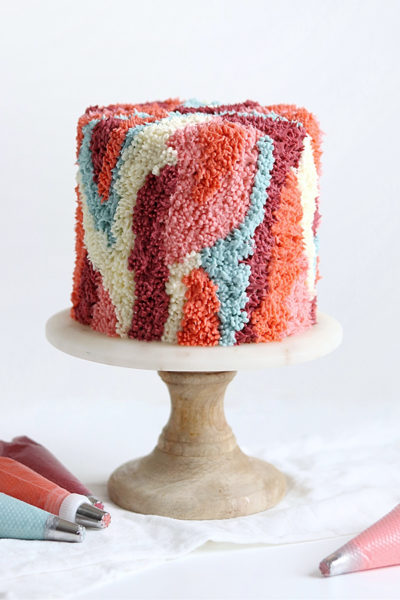
Shag Cake
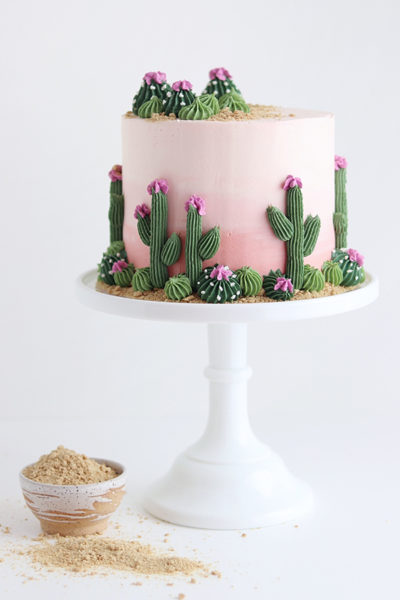
Cactus Cake
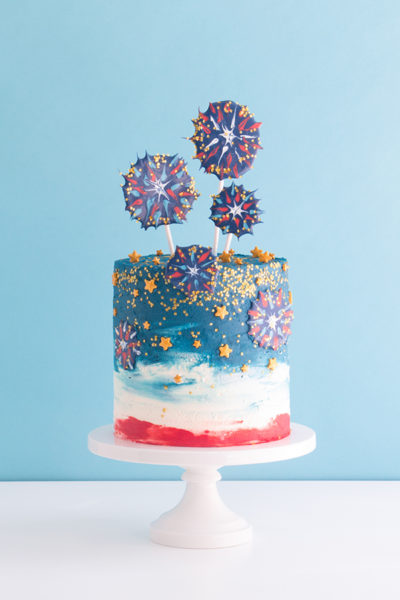
Chocolate Fireworks Cake
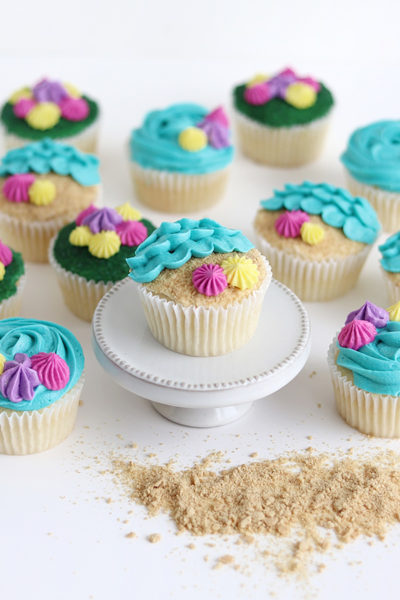
Beach Cupcakes
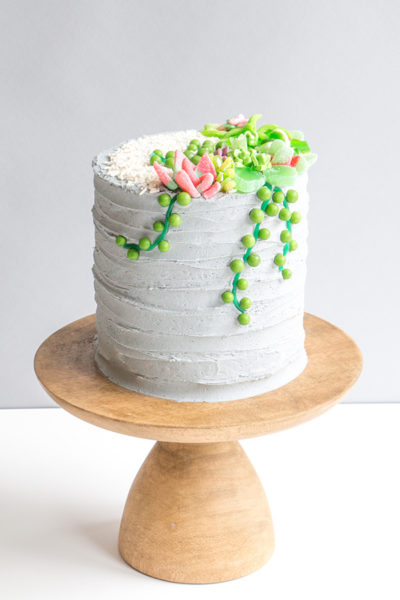
Candy Succulent Cake

Painted Buttercream Flower Cake
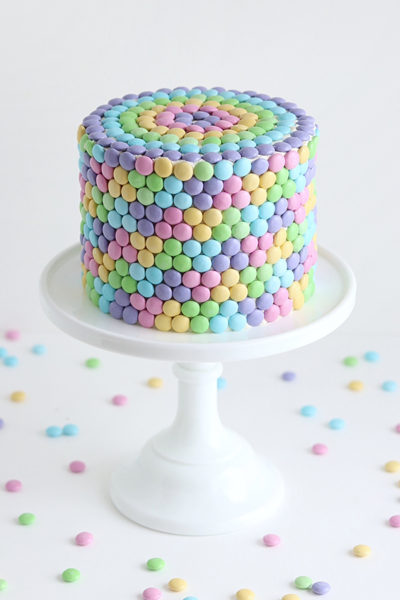
Rainbow Mosaic Cake
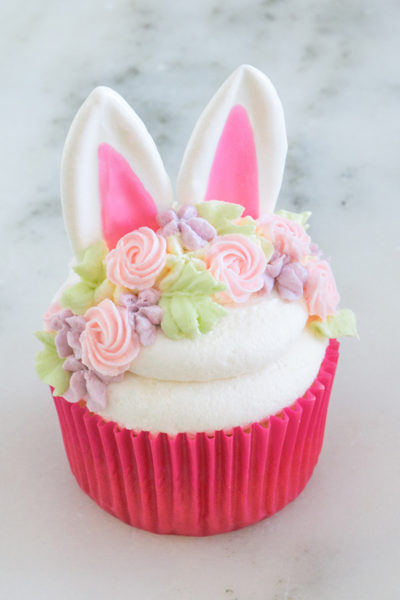
Easter Bunny Cupcakes
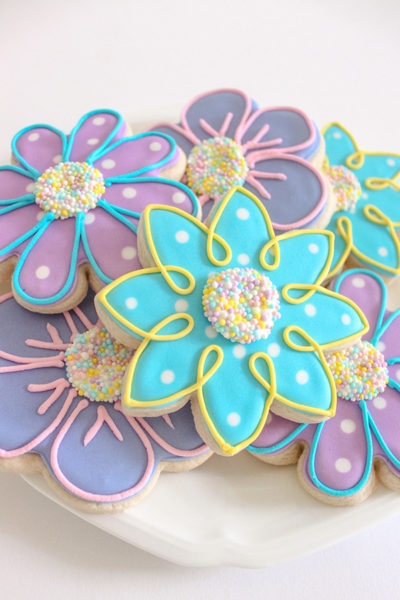
Flower Sugar Cookies
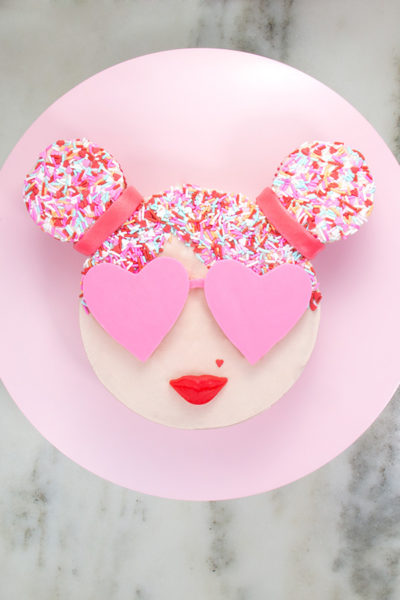
Sprinkle Girl Cake
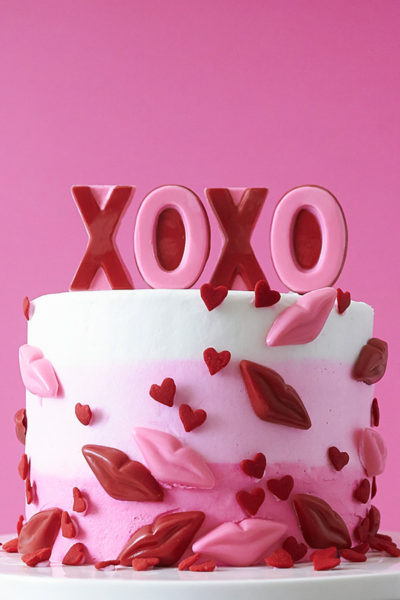
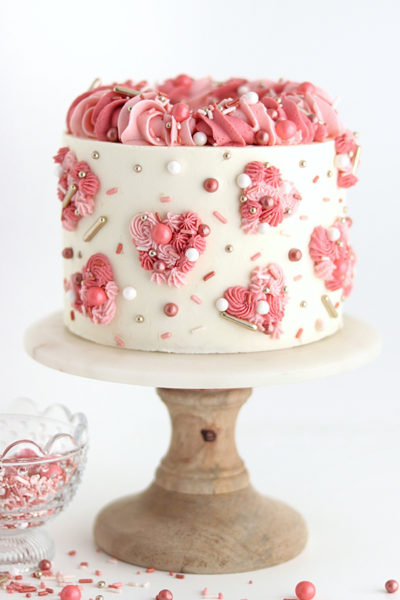
XOXO Valentine’s Day Cake
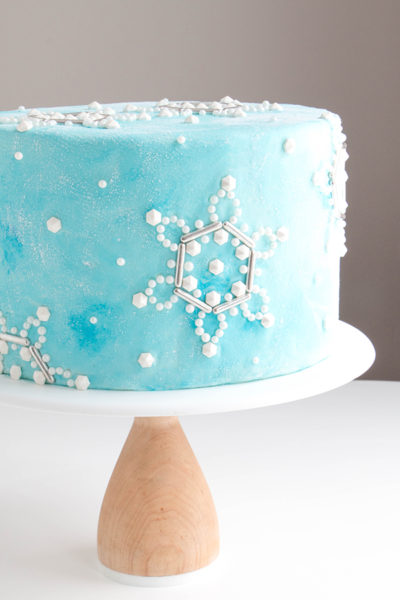
Sueded Buttercream with Sprinkle Snowflakes
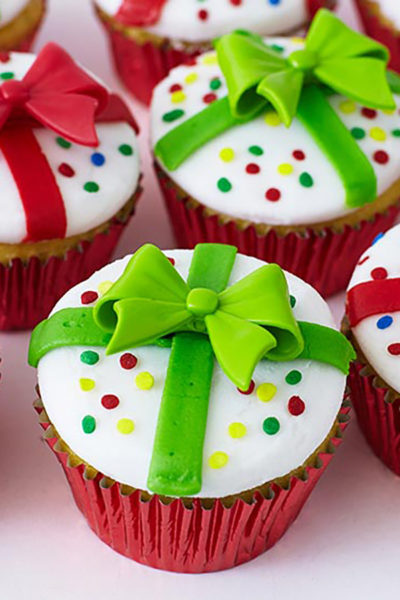
Christmas Present Cupcakes
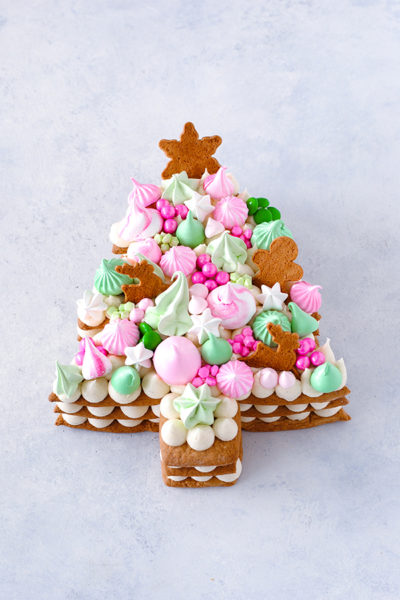
Cream Tart Tree Cake

Pumpkin Cupcakes 8 Ways
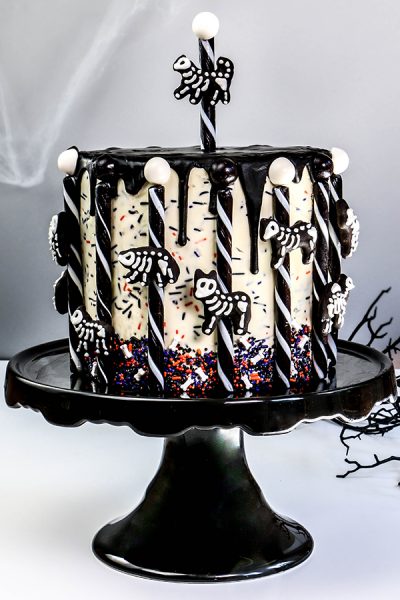
Animal Skeleton Cake
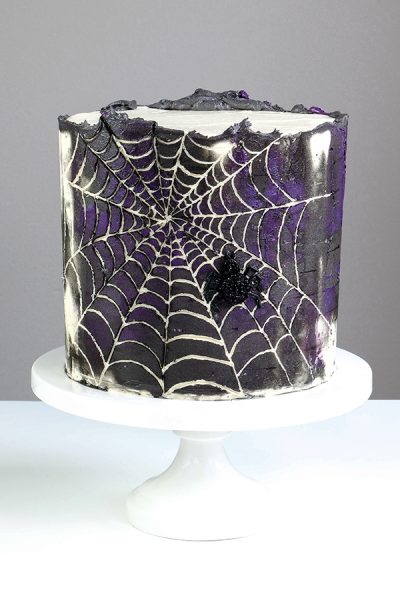
Spiderweb Cake
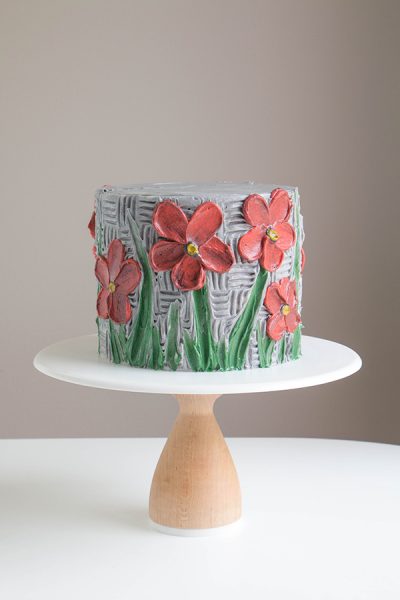
Buttercream Palette Knife Painted Cake
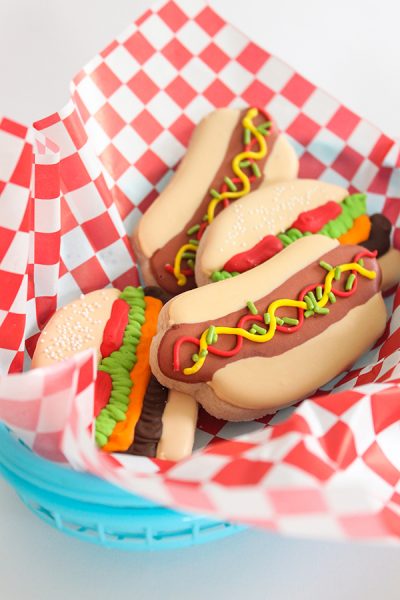
Hamburger & Hot Dog Cookies
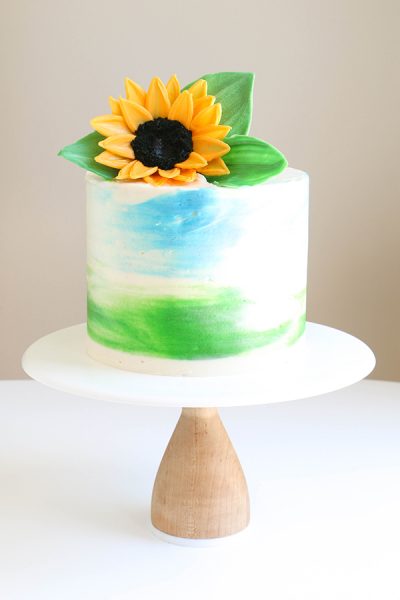
Sunflower Cake
- 1
- 2
- 3
- …
- 7
- Next Page »
