SIGN UP FOR OUR NEWSLETTER ➝
The Cake Blog
HOME
RECIPES
TUTORIALS
DIY PROJECTS
BAKING TIPS
HOLIDAYS
CHRISTMAS
VALENTINE’S DAY
ST. PATRICK’S DAY
EASTER
MOTHER’S DAY
GRADUATION
FATHER’S DAY
FOURTH OF JULY
SUMMER FUN
FALL
HALLOWEEN
INSPIRATION
CAKES
WEDDING CAKES
BIRTHDAY CAKES
BABY SHOWER CAKES
BAKERY TOURS
BIRTHDAY PARTIES
BABY SHOWERS
BRIDAL SHOWERS
REAL WEDDINGS
DESSERT TABLES
ABOUT
MEET THE EDITOR
MEET THE CONTRIBUTORS
CONTACT
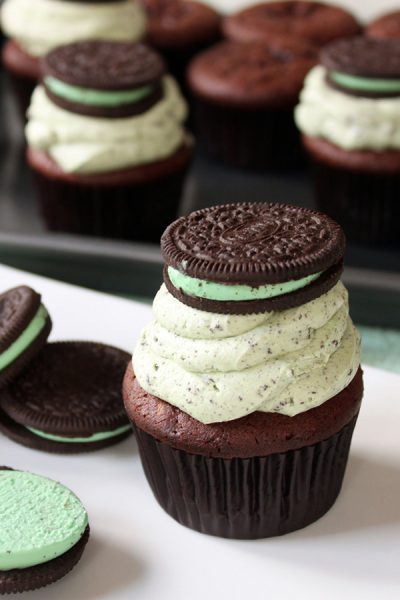
Mint Cookies N Cream Cupcakes
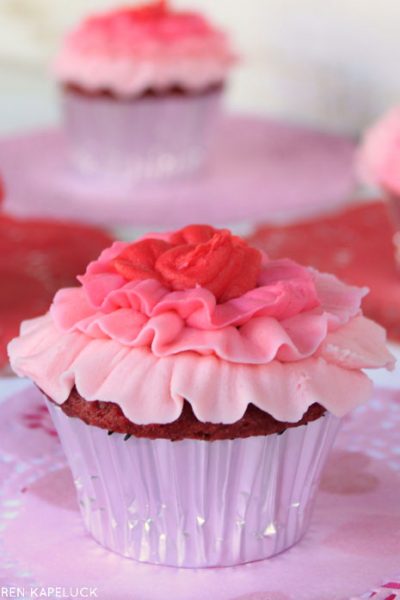
Ombre Ruffle Cupcakes
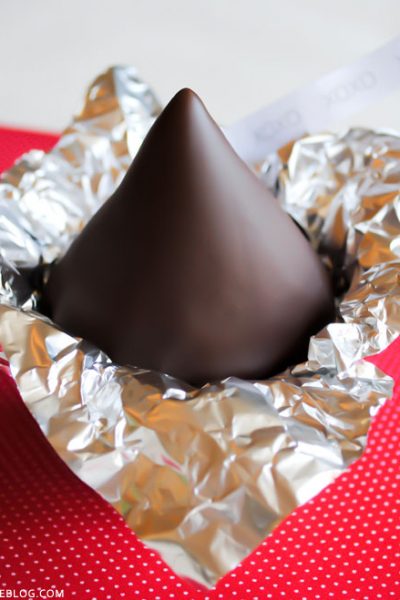
DIY Chocolate Kiss Cupcakes
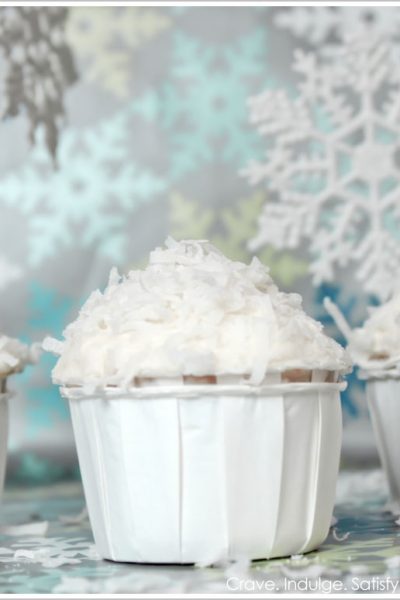
Italian Cream ‘Snowball’ Cupcakes
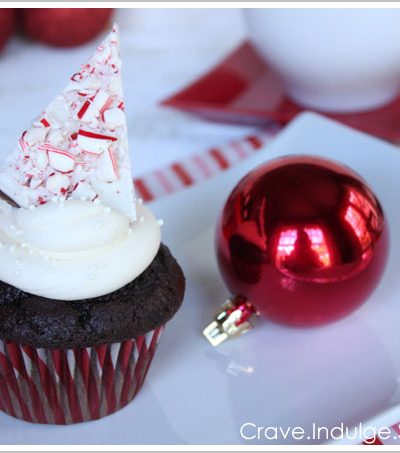
Hot Chocolate Cupcakes
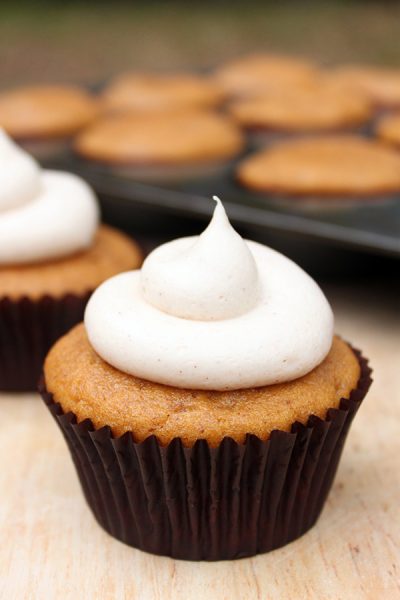
Pumpkin Cupcakes
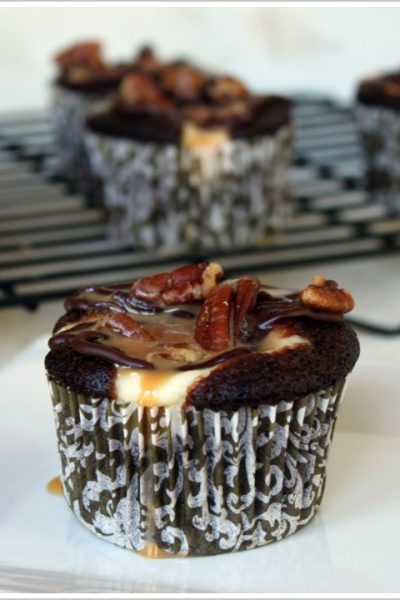
Recipe: Chocolate Cheesecake Turtle Cupcakes
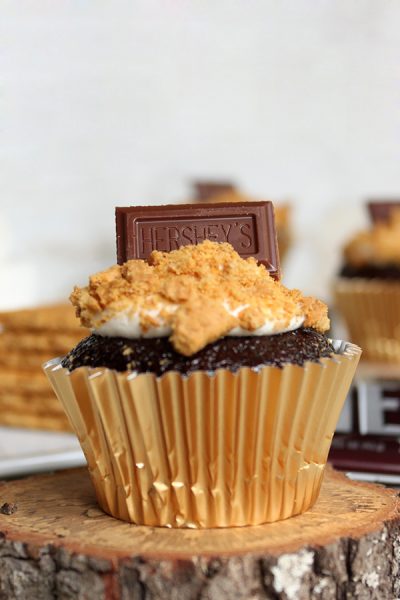
S’mores Cupcakes
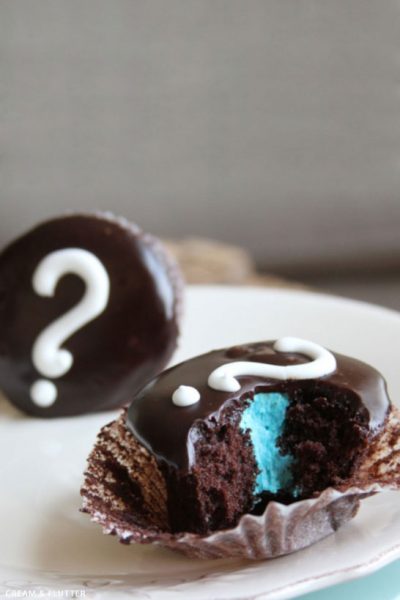
Gender Reveal Cupcakes
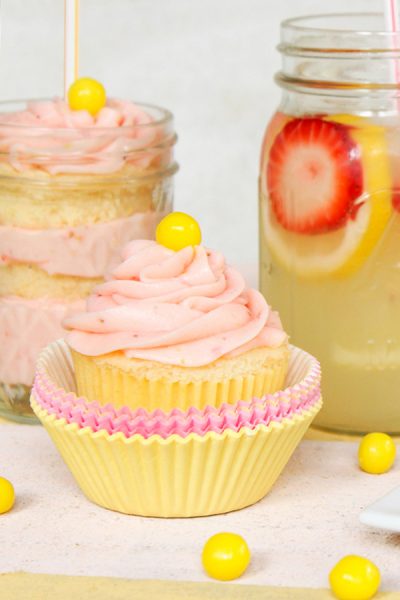
Strawberry Lemonade Cupcakes
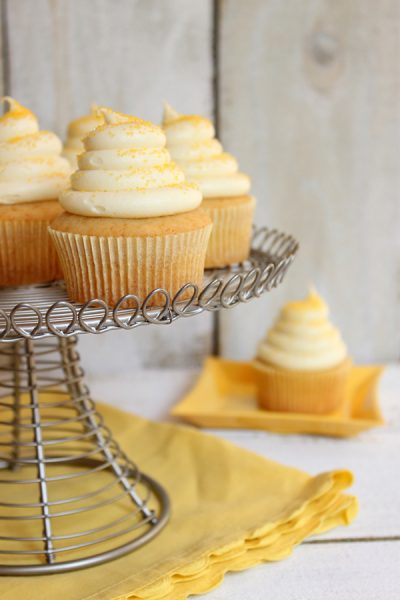
Honey Cupcakes with Honey Cream Cheese
« Previous Page
1
2
3