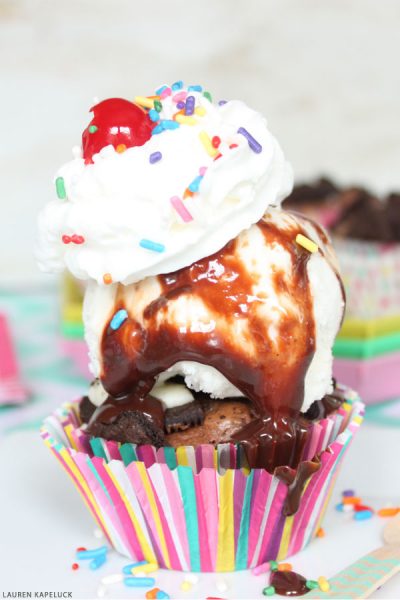
Brownie Cupcake Sundaes
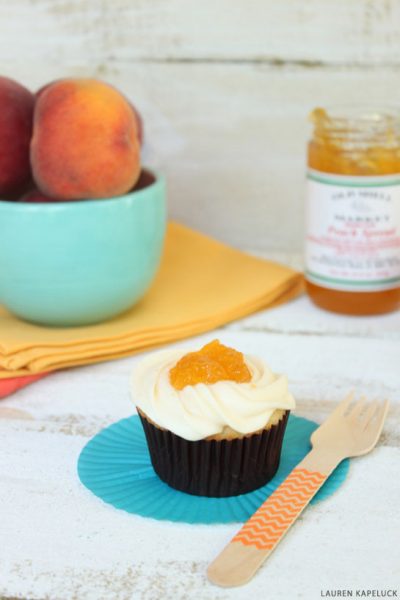
Peaches N’ Cream Cupcakes
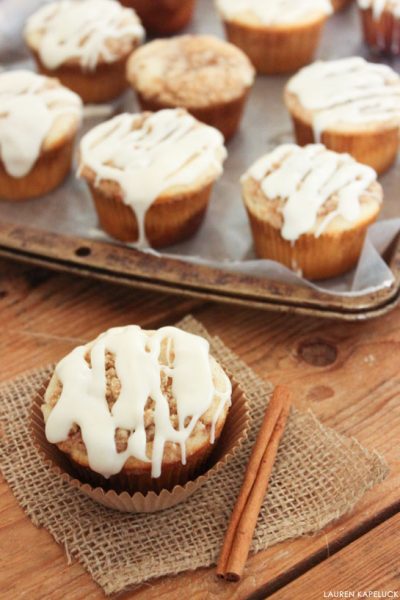
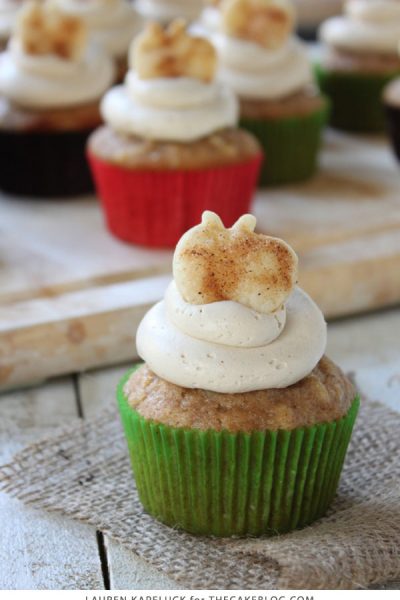
Cinnamon Roll Cupcakes
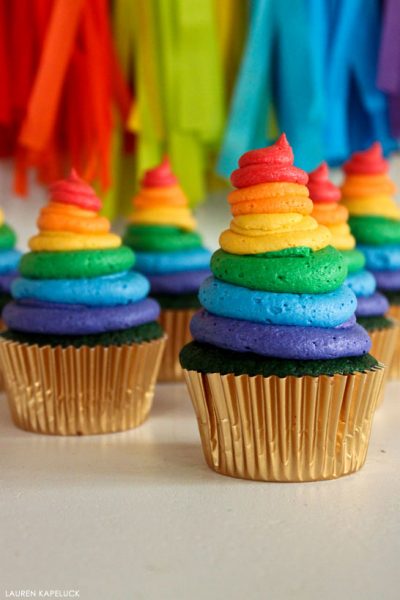
Green Velvet Cupcakes
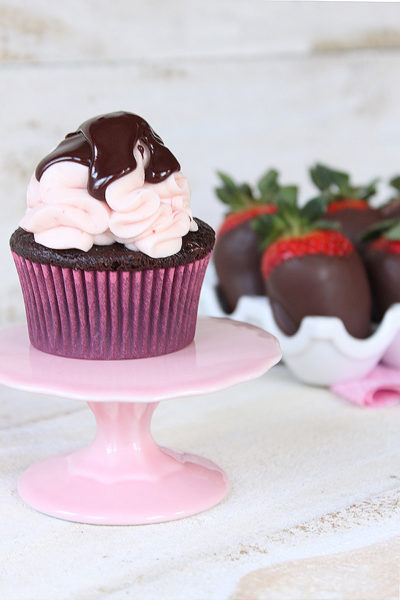
Chocolate Covered Strawberry Cupcakes
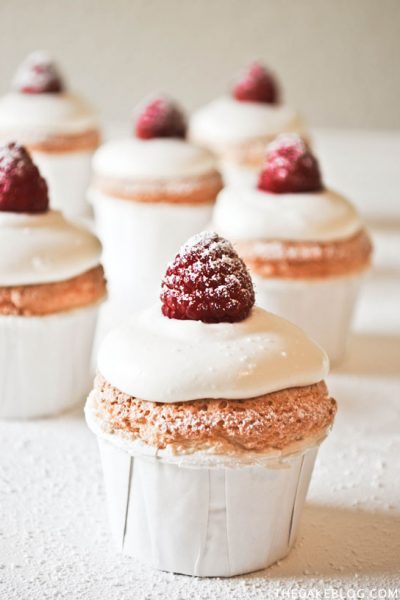
Snow Angel Cupcakes
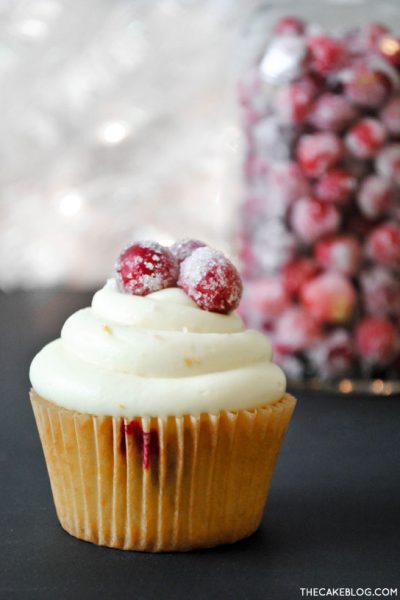
Cranberry Orange Cupcakes
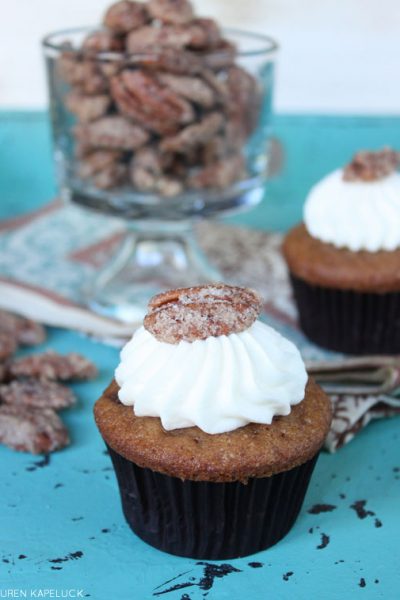
Recipe: Sweet Potato Cupcakes
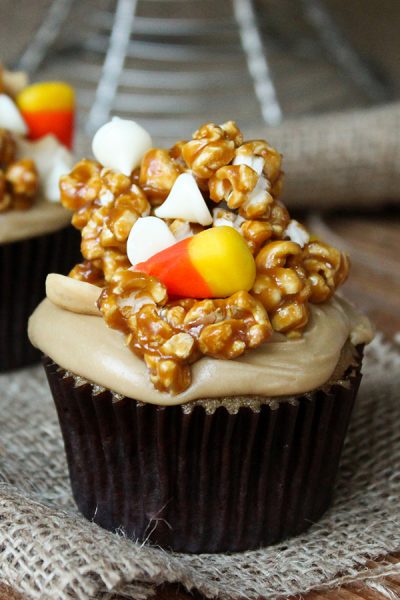
Caramel Corn Cupcakes
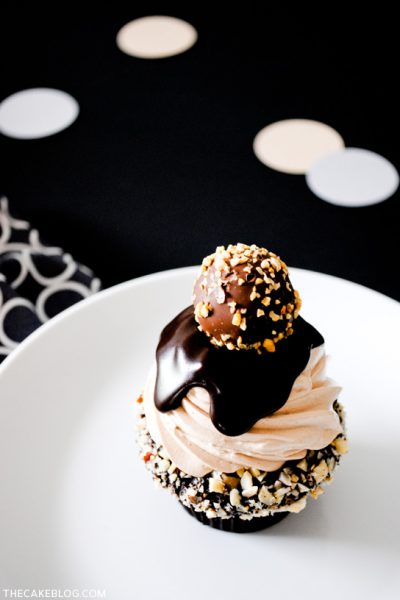
Godiva Truffle Flight & Cupcake Recipe
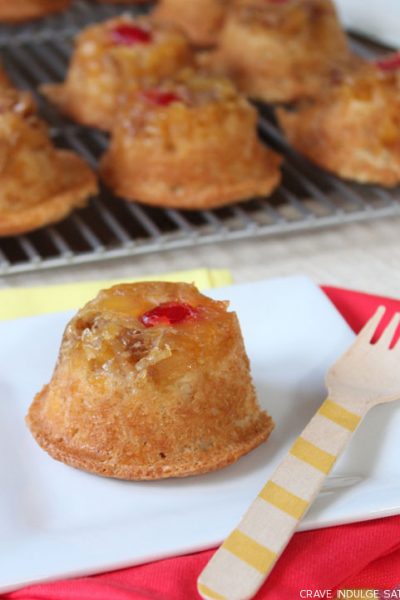
Recipe: Pineapple Upside-Down Cupcakes
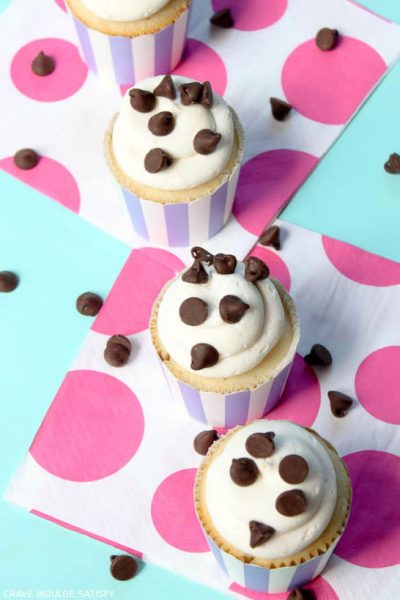
Recipe : Chocolate Chip Cupcakes
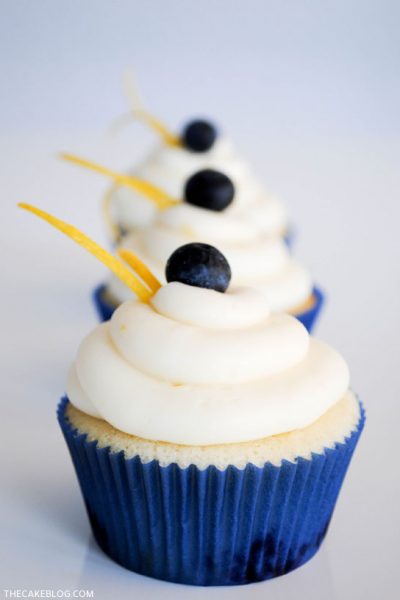
Lemon Blueberry Cupcakes

Creamsicle Cupcakes
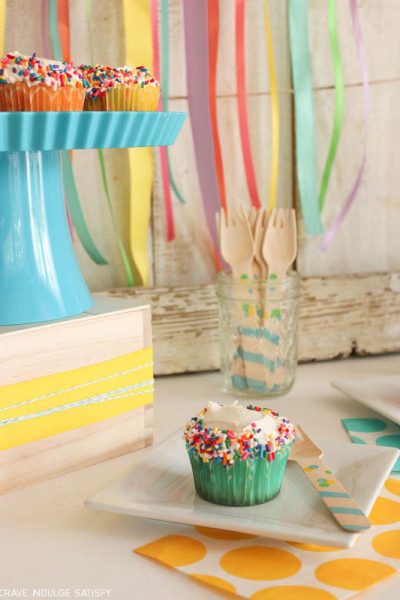
Recipe: Funfetti Cupcakes
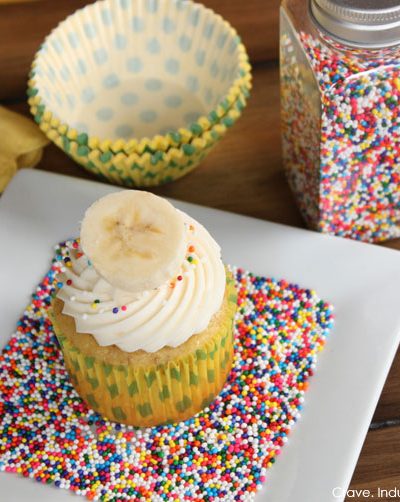
Recipe: Banana & Cream Cheese Cupcakes
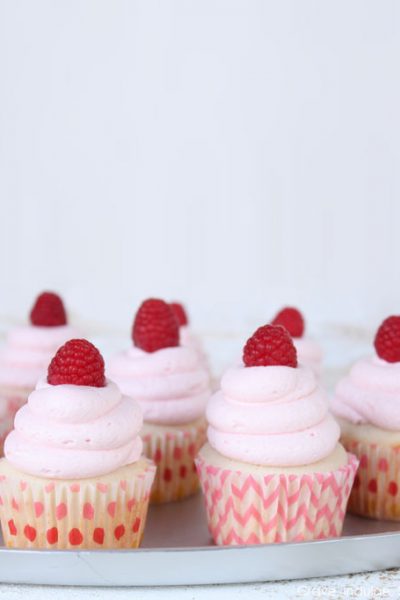
Champagne & Raspberry Cupcakes
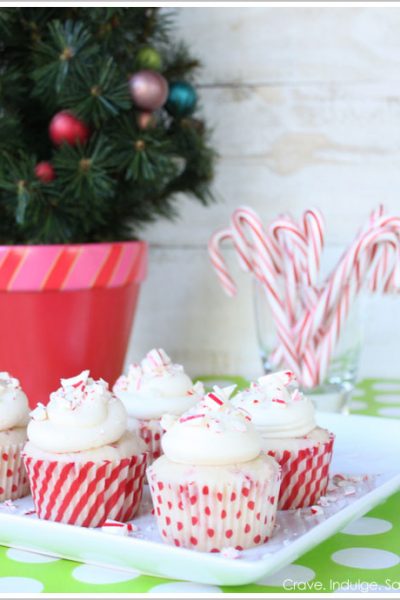
Recipe : Peppermint Cupcakes for Santa
Apple Pie Cupcakes

Halloween Candy Cupcakes
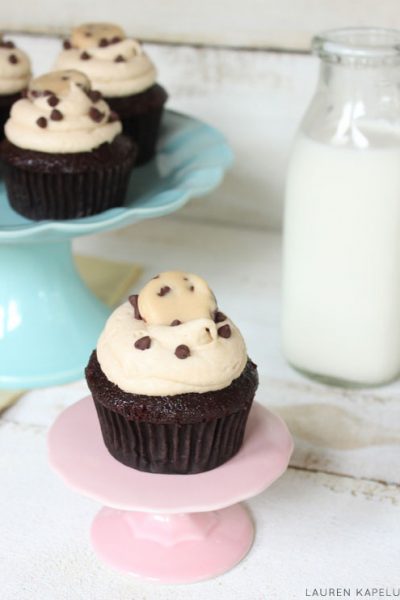
Chocolate Chip Cookie Dough Cupcakes
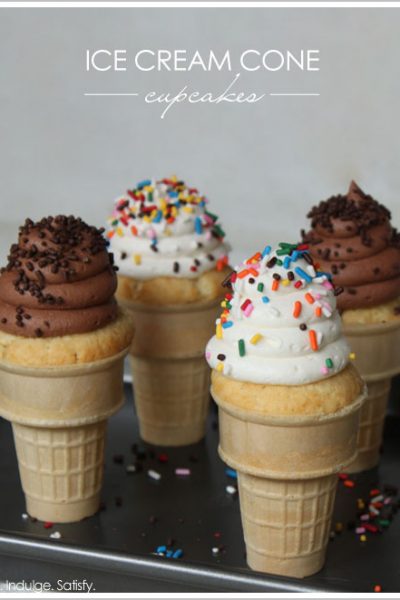
Ice Cream Cone Cupcakes
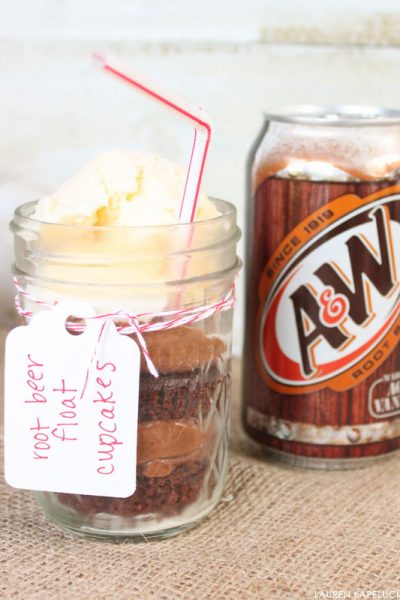
Root Beer Float Cupcakes
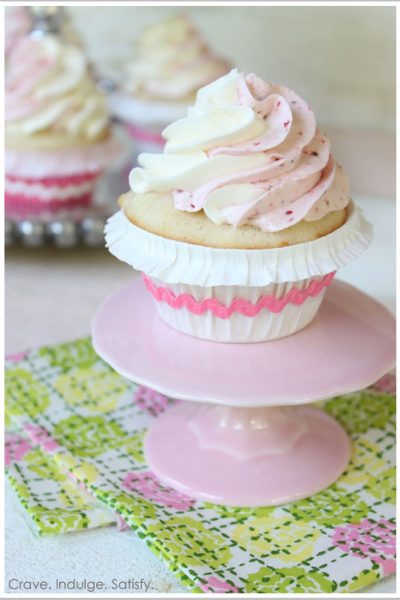
Strawberry & Vanilla Swirl Cupcakes

Jelly Bean Flower Cupcakes