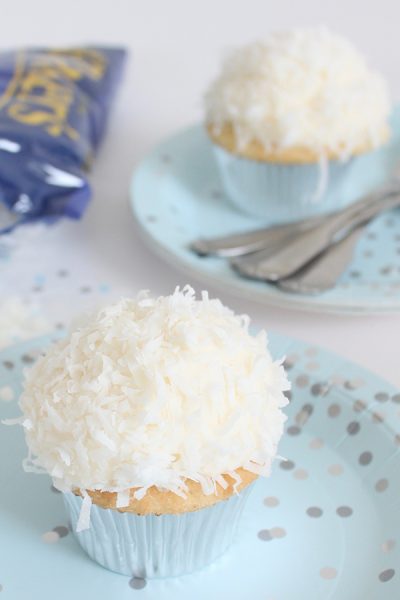
Coconut Cupcakes
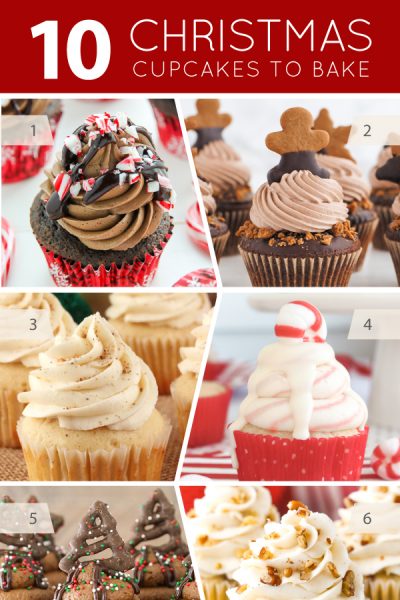
10 Christmas Cupcakes To Bake

Snickerdoodle Cupcakes
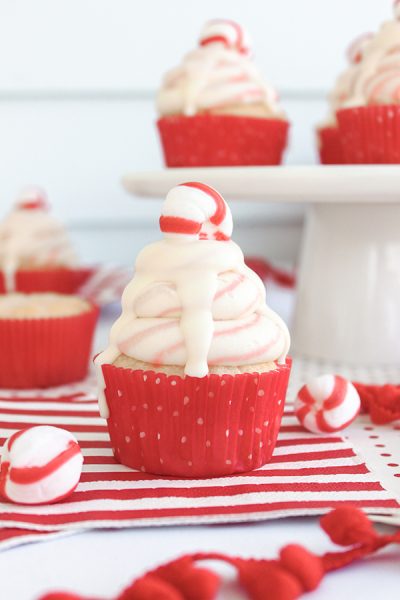
White Chocolate Peppermint Cupcakes
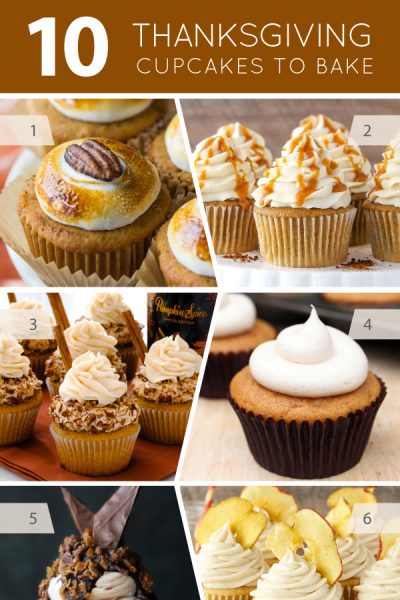
10 Thanksgiving Cupcakes
Caramel Mocha Cupcakes

10 Halloween Cupcakes to Bake
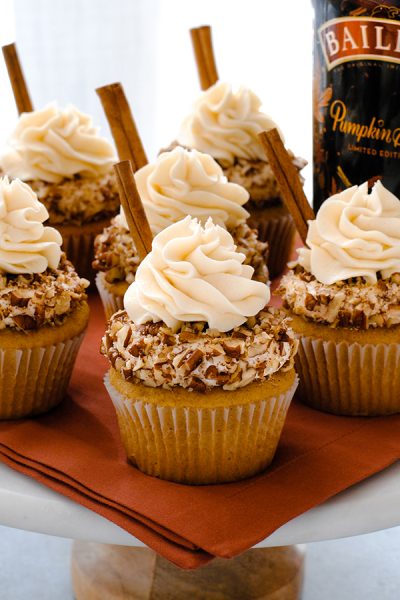
Baileys Pumpkin Spice Cupcakes

Butter Pecan Cupcakes
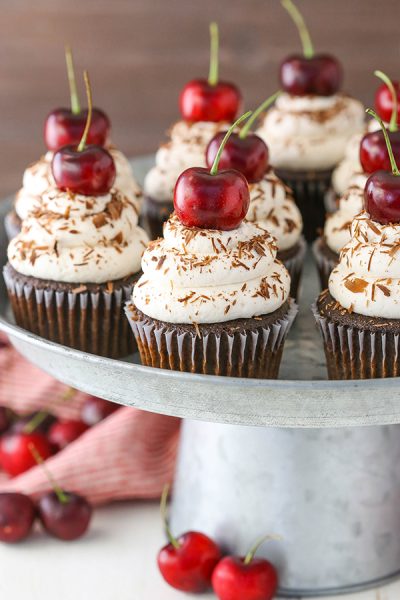
Black Forest Cupcakes
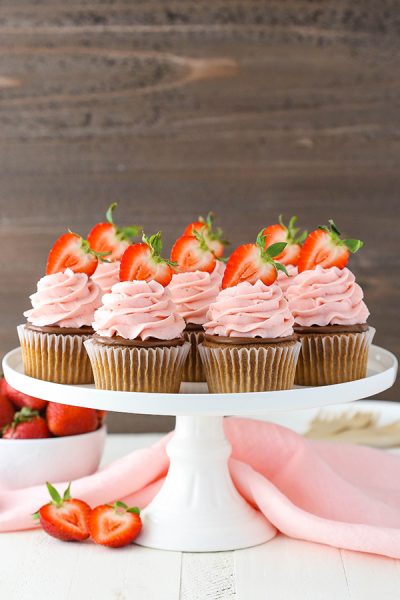
Strawberry Nutella Cupcakes
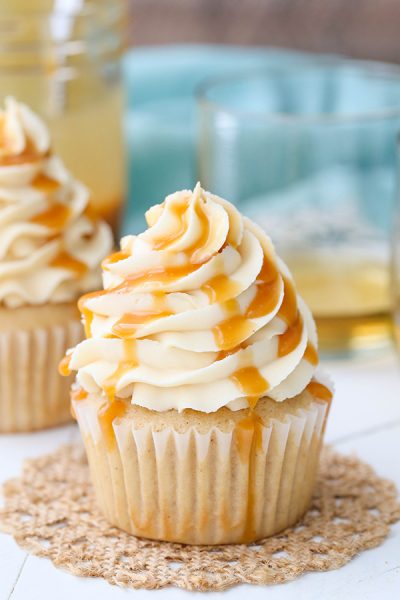
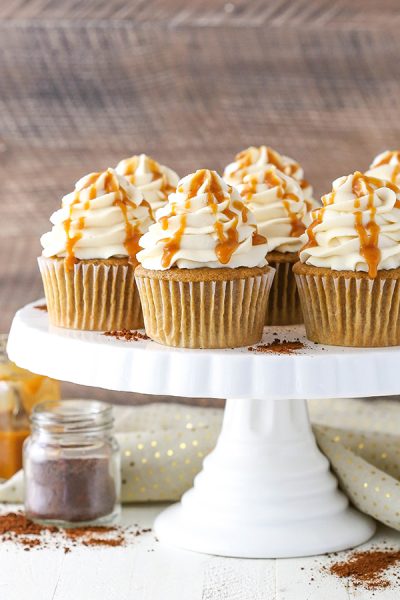
Caramel Bourbon Vanilla Cupcakes
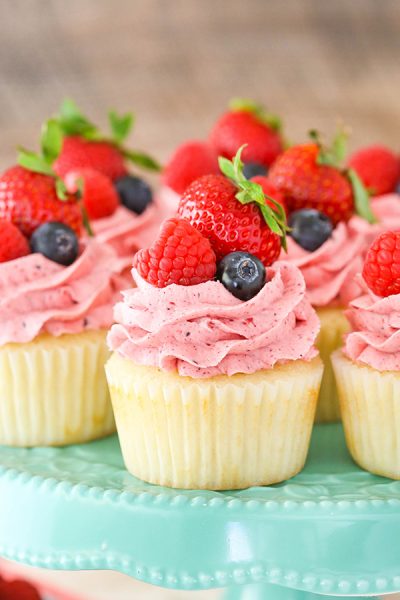
Berries and Cream Cupcakes

Key Lime Cupcakes
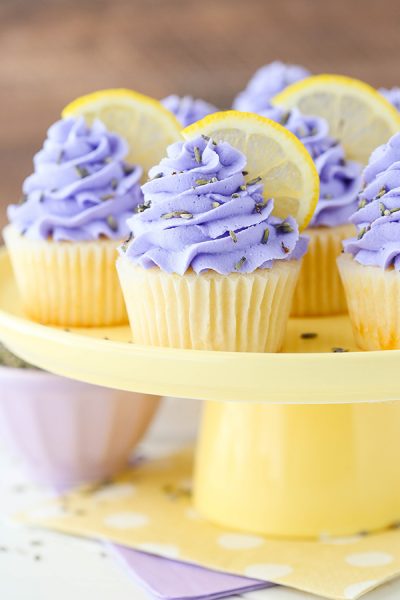
Lemon Lavender Cupcakes
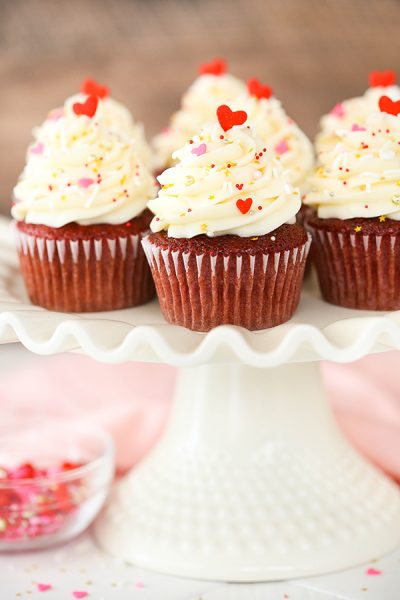
Red Velvet Cupcakes
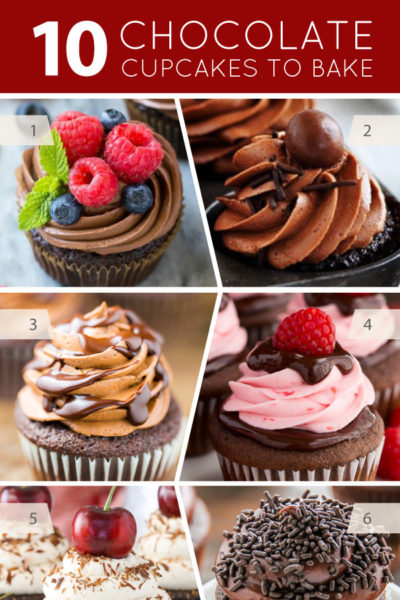
10 Chocolate Cupcakes to Bake
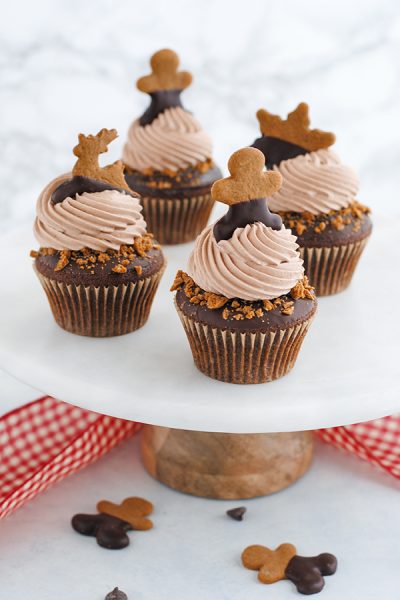
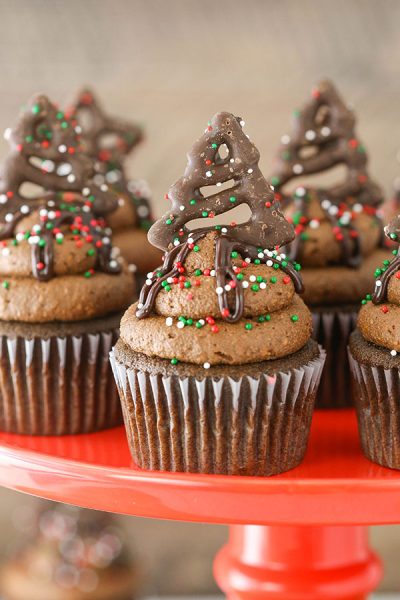
Chocolate Gingerbread Cupcakes
Chocolate Covered Pretzel Cupcakes
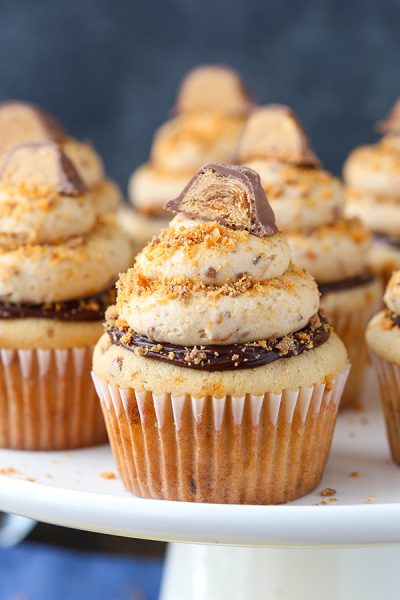
Butterfinger Cupcakes
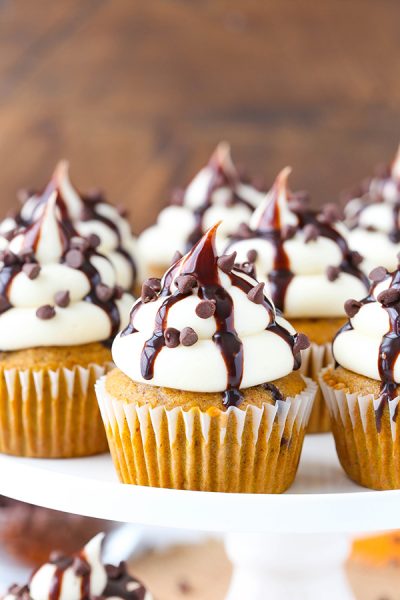
Pumpkin Chocolate Chip Cupcakes
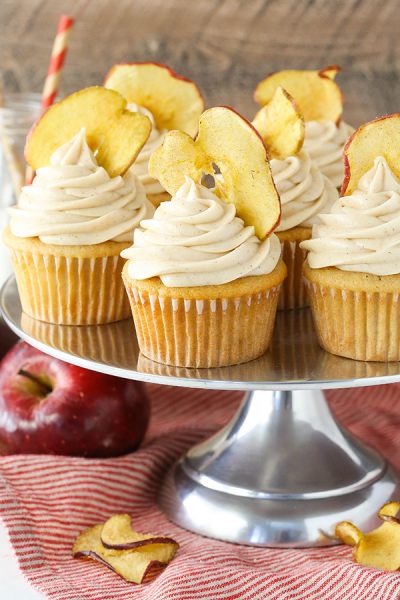
Apple Butter Cupcakes

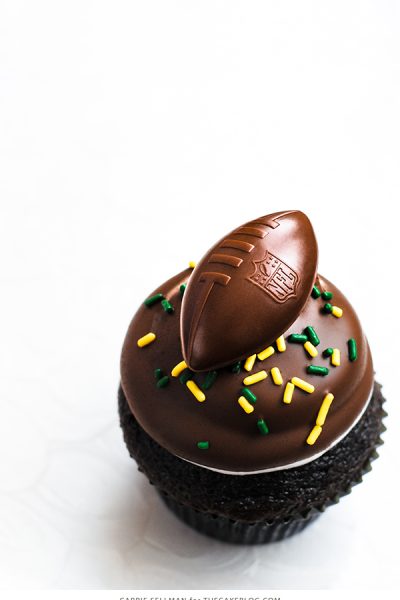
Chocolate Turtle Cupcakes
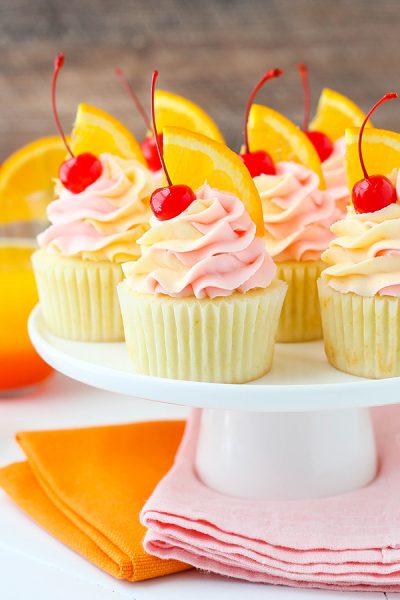
Tequila Sunrise Cupcakes
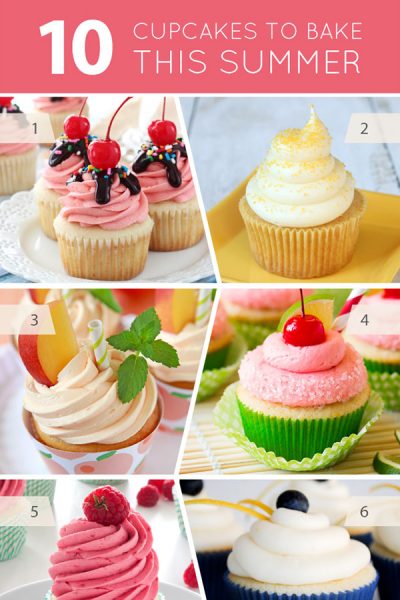
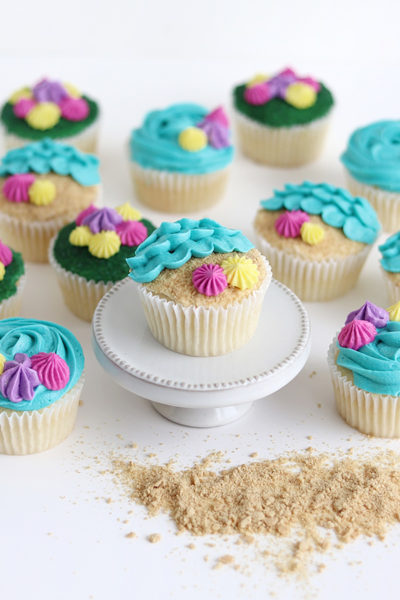
10 Cupcakes to Bake This Summer